Flying with Pets – How To Travel with Your Pets from the Philippines to USA
Flying with Pets – How To Travel with Your Pets from the Philippines to USA
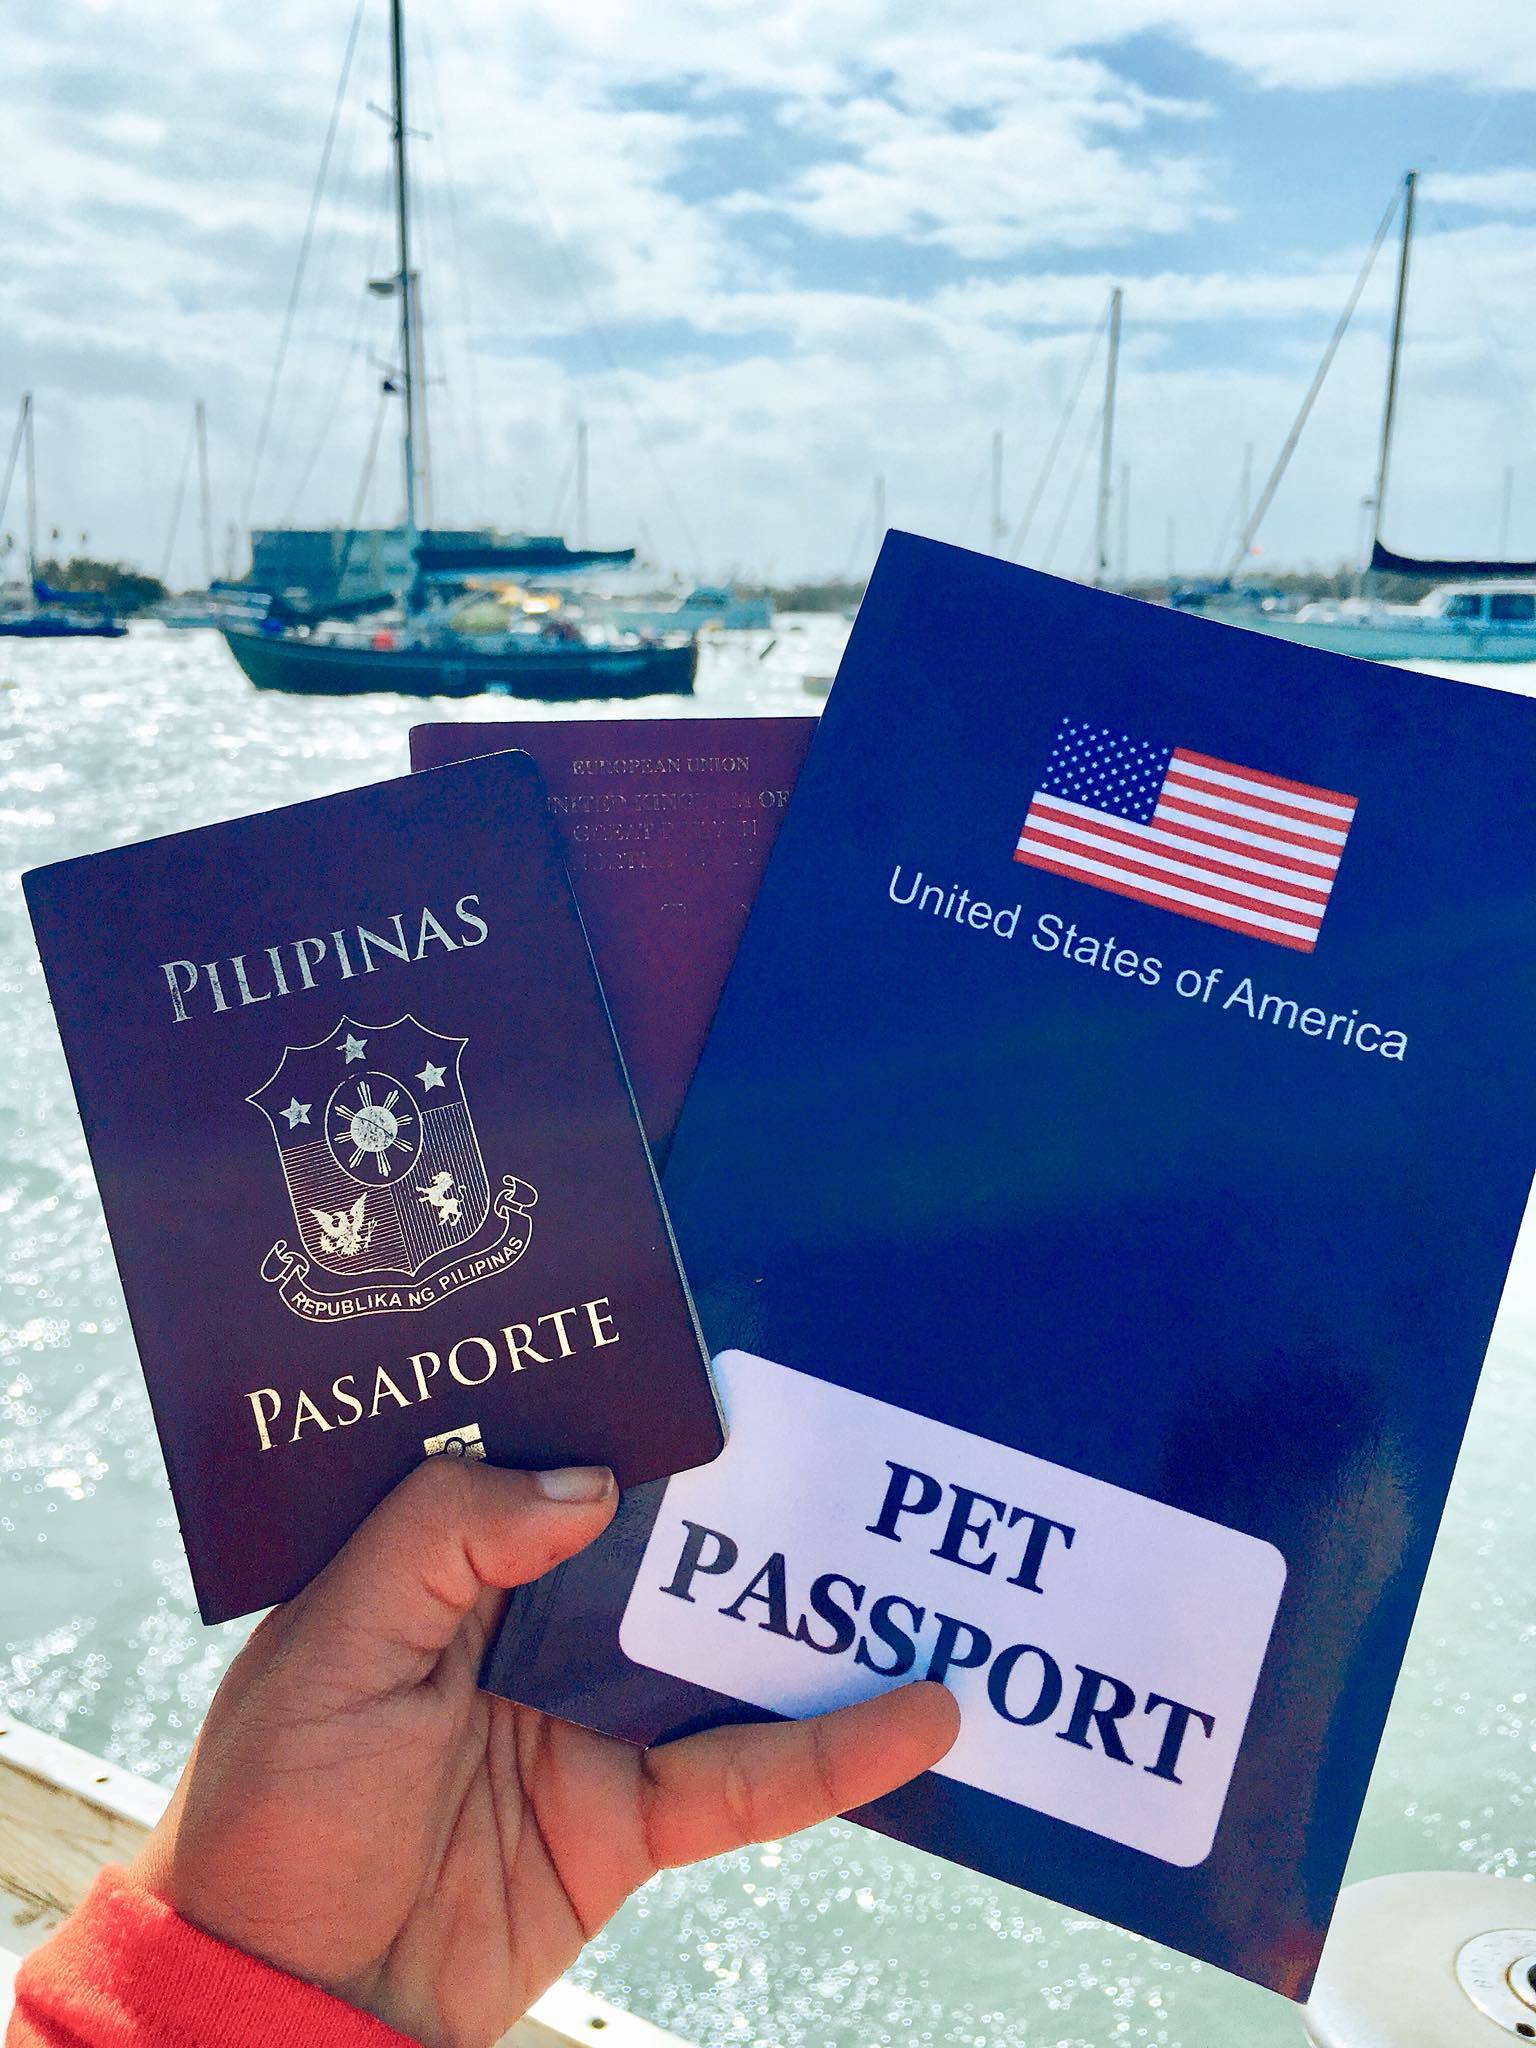
Off to the USA for a long time or immigrating there to live permanently but you have babies along you don’t want to leave? What I mean of precious babies are your lovely pets. I have Captain Ahab and Zissou, and they’ve been traveling with us and can’t seem to leave them for a long time. As pet parents, if we relocate, we bring the whole family, including our fur babies.

Photo by little plant on Unsplash
Bringing a pet to the United States is not an easy venture. It’s a bit more challenging than getting your own US visa because you need requirements and your pets must be in good condition to travel too.
So if you’re planning to travel with your pets from the Philippines to the USA, you’re in the right course as we will be discussing with you this issue.
Table of Contents
Decide
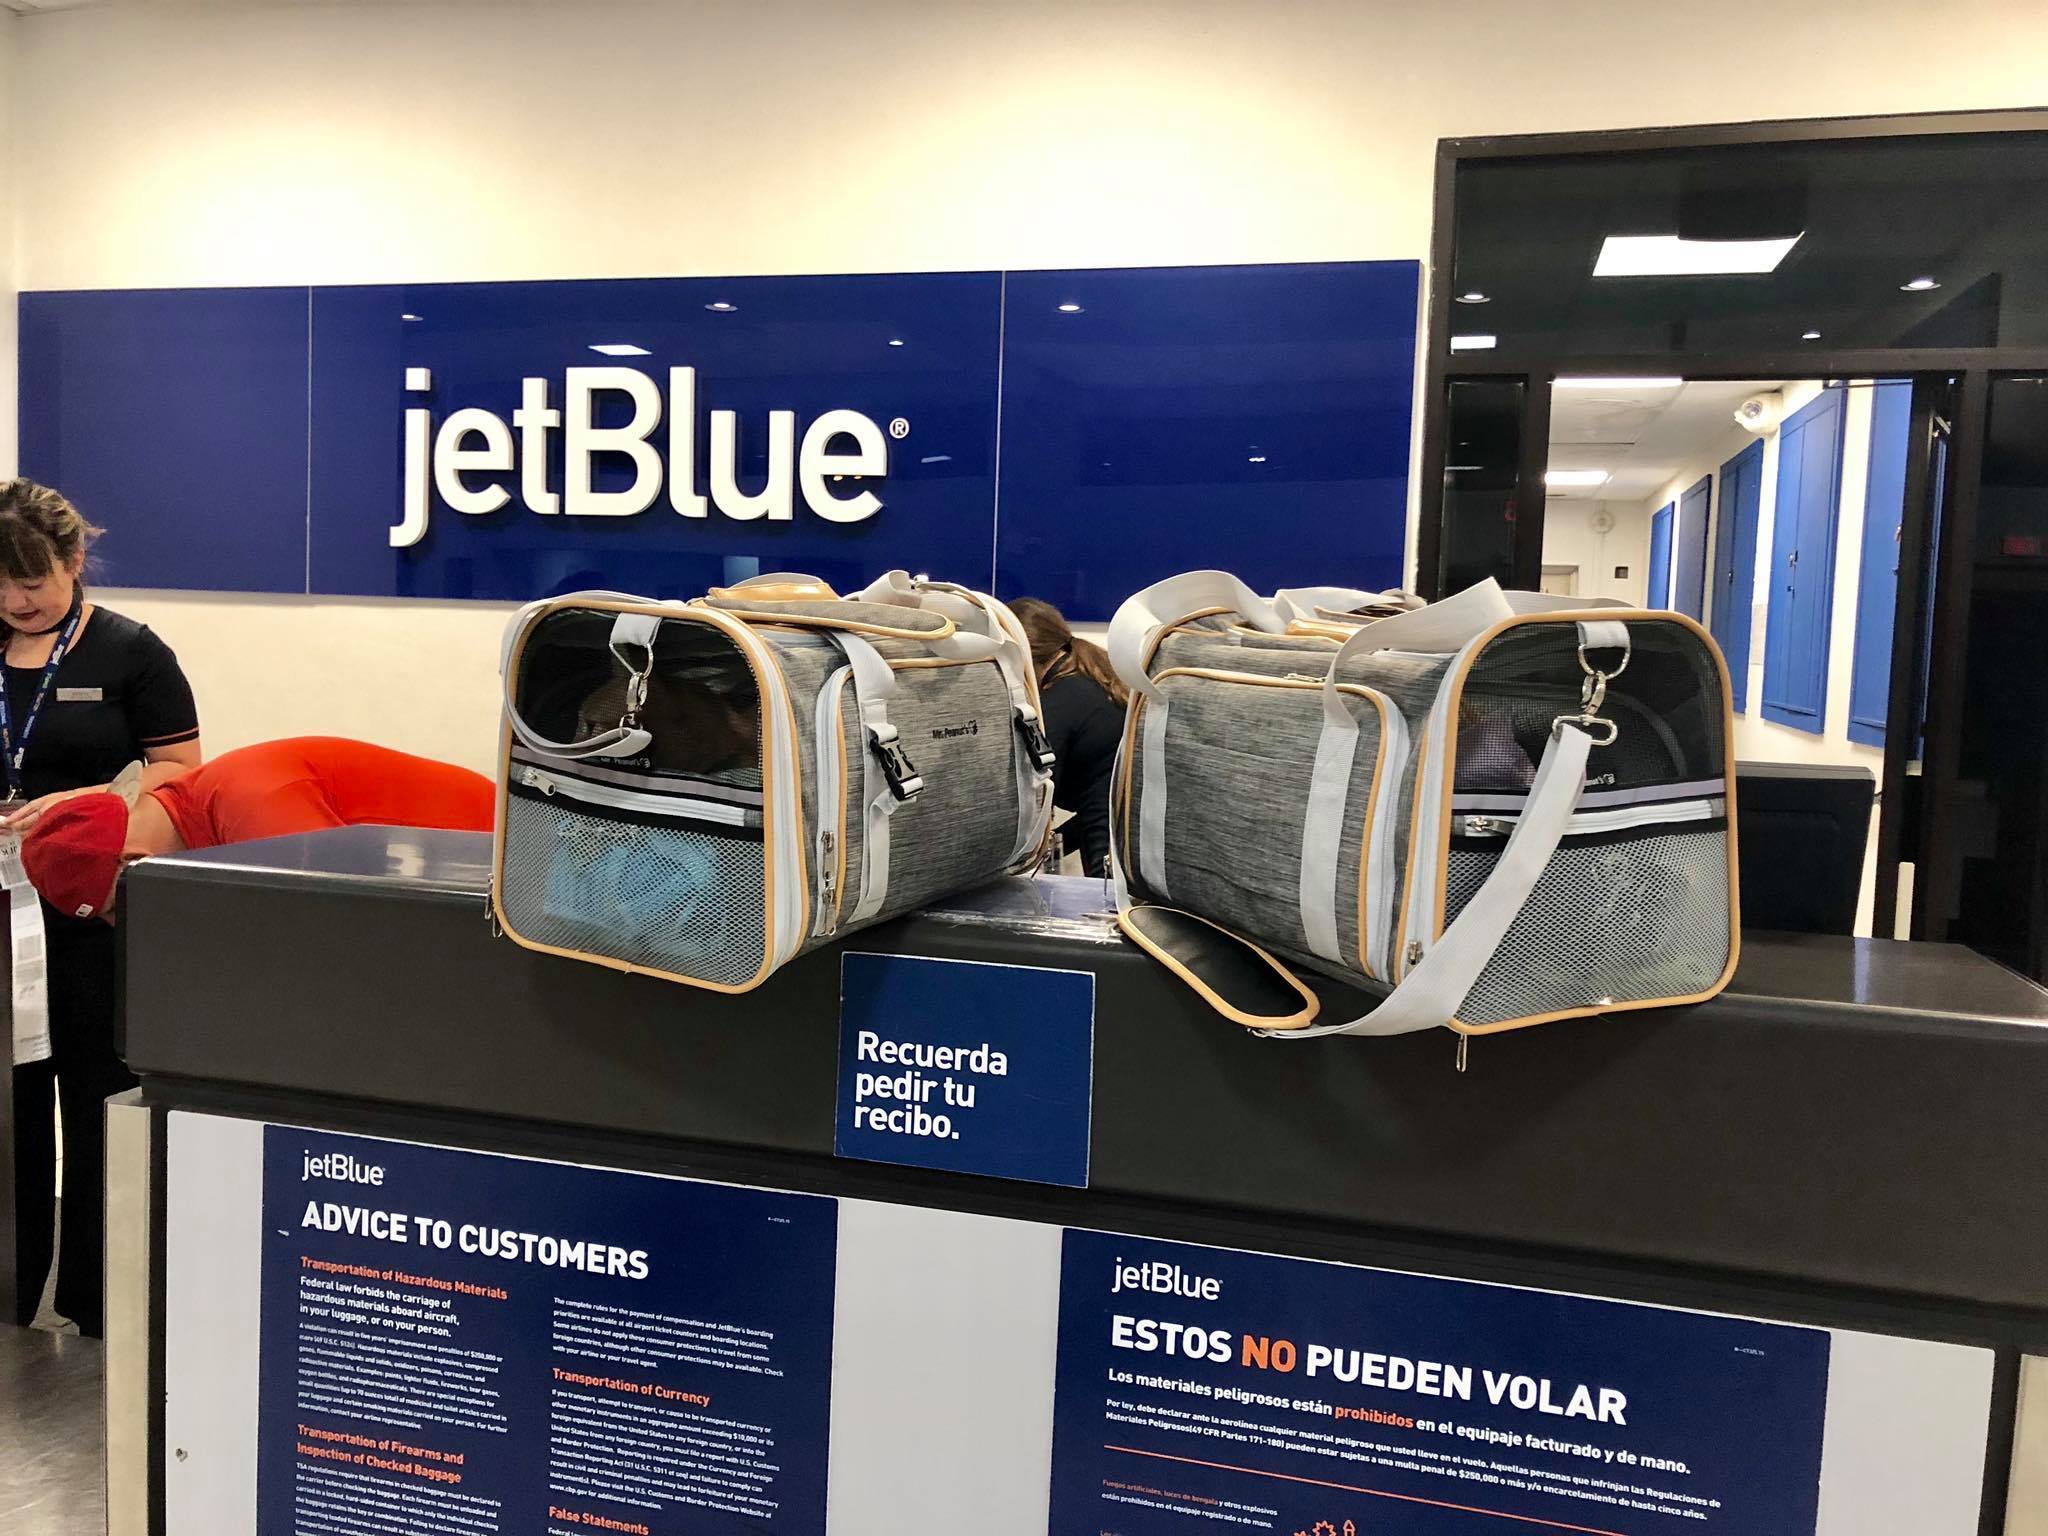
When you decide to go to travel with your pet, consider the options on how to transfer him/her: via air travel (via 13 to 16 hours max) or via ship. You can go together on the same flight, you both have different ones, or you use a carrier to bring your baby to the US.
Discuss also with your veterinarian if it is okay to travel with your pet. They will be there to give you good advice if they are healthy to do so or if they are not, maybe give them vitamins or medicine to make them better recommend another timeline.
I highly suggest doing a non-stop flight as your pet as your pets will be more stressed in transferring from a plane to another and your pet might be placed in a hot place with all the luggage, plus might you might need to pass documents in the country you are in transit.
Requirements
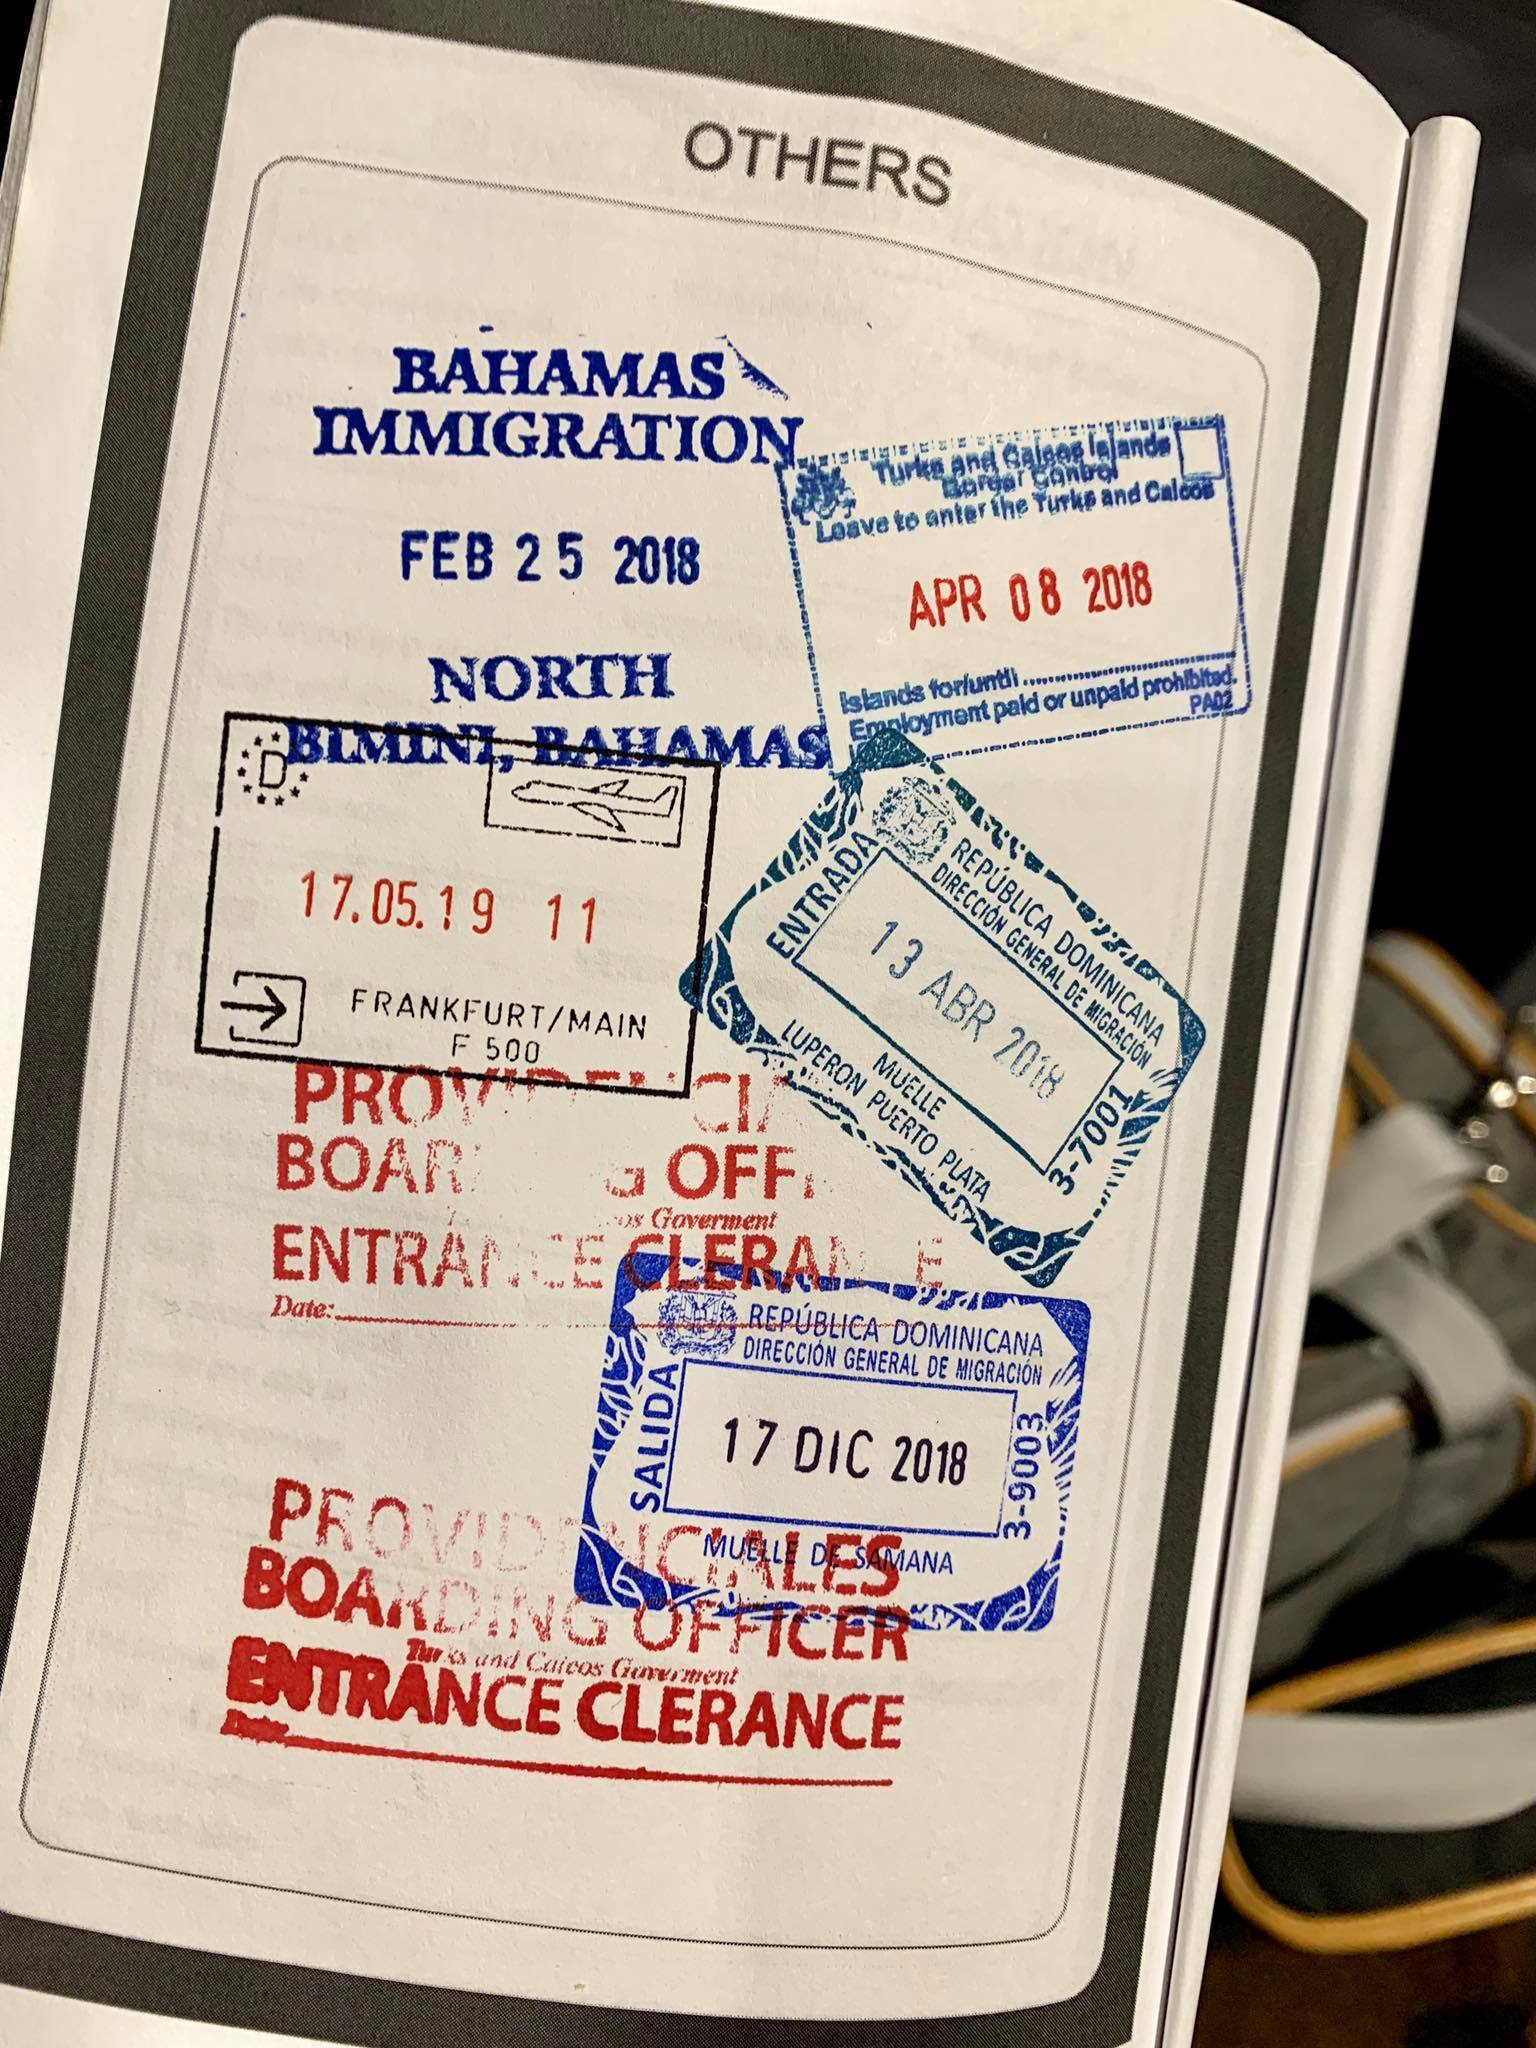
Here are the Requirements in exporting dog and cats as per Bureau of Animal Industry
- Valid health certificate issued by NVQS (National Veterinary Quarantine Services Division) or Licensed Private Veterinary Practitioner
- The Veterinary Health Certificate form must be printed. Likewise, the entries must be typewritten.
- If the dog or cat was vaccinated against rabies by the veterinarian issuing the health certificate, the space provided for the vaccination details must be duly accomplished.
- If the dog or cat was vaccinated by a veterinarian other than the one issuing the health certificate, the phrase provided. However, a photocopy of the rabies vaccination record should be attached to the health certificate and with the original vaccination certificate presented to the NVQS.
- The health certificate should bear the name (typewritten or computerized) and signature of the veterinarian. Other pertinent information which includes the PTR, PRC number with its expiry date and TIN must be indicated.
- The animal should have been vaccinated against rabies not earlier than 91 days since birth. Likewise, they should have been vaccinated not more than one year but not less than 30 days
Please also check the additional requirements per state of the USA .

Photo by AR on Unsplash
Additional requirements for dogs or cats traveling to Hawaii or Guam from the Philippines from the BAI Memorandum 12/13/2011:
- The pet must have been vaccinated at least two times for rabies.
- They must be administered more than 30 days apart.
- The most recent rabies vaccination must be done not more than the vaccine’s booster interval and not less than 90 days before the pet’s date of arrival.
- The dog must have an electronic microchip implanted (required before a Rabies blood test is performed).
- An OIE-FAVN Rabies blood test is required. It must be done at an approved lab (Kansas State University or the DOD Food Analysis and Diagnostic Laboratory in Texas).
- The day after the KAU’s or DOD’s receipt of the blood sample must not be more than 38 months and not less than 120 days before the date of arrival. The result must be greater than or equal to 0.5 IU/ml.
- Following a successful OIE-FAVN test result, animals must wait at least 120 days before arriving in Hawaii. If arrival occurs before 120 days has elapsed, the animal is subject to quarantine until 120 days is completed.
- The pet must be treated by a veterinarian for ticks with a product containing Fipronil or an equivalent long-acting product within 14 days of arrival.
As for the airline, Philippine Airlines is recommended as they have non-stop flights to the USA, which is less stressful for pets.
The following data are from the Philippine Airlines website .
Pets such as dogs, cats, and birds, if and when they are acceptable for carriage as baggage should:
- Be placed in a secure and leak-proof container
- Have valid vaccination certificates and exit and/or entry permits from the Philippine Bureau of Animal Industry, Animal Health Division (AHD), Diliman, Quezon City. Visit their website at bai.gov.ph for more information.
- Be accompanied by passengers at least 12 years old.
- Inform Philippine Airlines at least 48 hours before your flight with regards to your pets
Philippine Airlines only accepts Emotional Support Dog s, not any other pets. The passenger must provide to current documentation (not more than one-year-old) on letterhead from a mental health professional or medical doctor who is treating the passenger’s mental health-related disability stating:
- The Passenger has a mental or emotional disability recognized in the Diagnostic and Statistical Manual of Mental Disorders – Fourth Edition (DSM IV)
- The Passenger needs the emotional support of psychiatric service animal as an accommodation for air travel and/or for activity at the passenger’s destination
- The individual providing the assessment is a licensed mental health professional or medical doctor, and the Passenger is under his or her professional care AND
- The date and type of mental health professional’s or medical doctor’s license and the state or other jurisdiction in which it was issued
Note: All brachycephalic or mixed-breeds of snub-nosed dogs will not be accepted for transport as check-in baggage since these animals are susceptible to increased risk of heat stroke and breathing problems when exposed to stress or heat. However, it does not apply to service and emotional support dogs with the passenger in the cabin.
Charge:
Pets are not included in the free baggage allowance, and thus shall be considered as automatic excess baggage even if the passenger does not have any other baggage. Charges for the carriage of pets for piece system shall be as follows:
- Pet and container measuring 203cms (80in) or less and weighing not more than 23kgs (50lbs) shall be charged 200% of the applicable excess baggage rate.
- Pet and container measuring over 203cms (80in) and weighing up to 45kgs or fraction thereof shall be charged 300% of the applicable excess baggage rate.
- For each additional 10kg over 45kg or fraction thereof, 100% of the applicable excess baggage charge shall apply.
- The total resulting amount shall be multiplied by two (2) to come up with the total excess baggage charge.
Before the Flight

Photo by Ira E on Unsplash
Practice and Shop
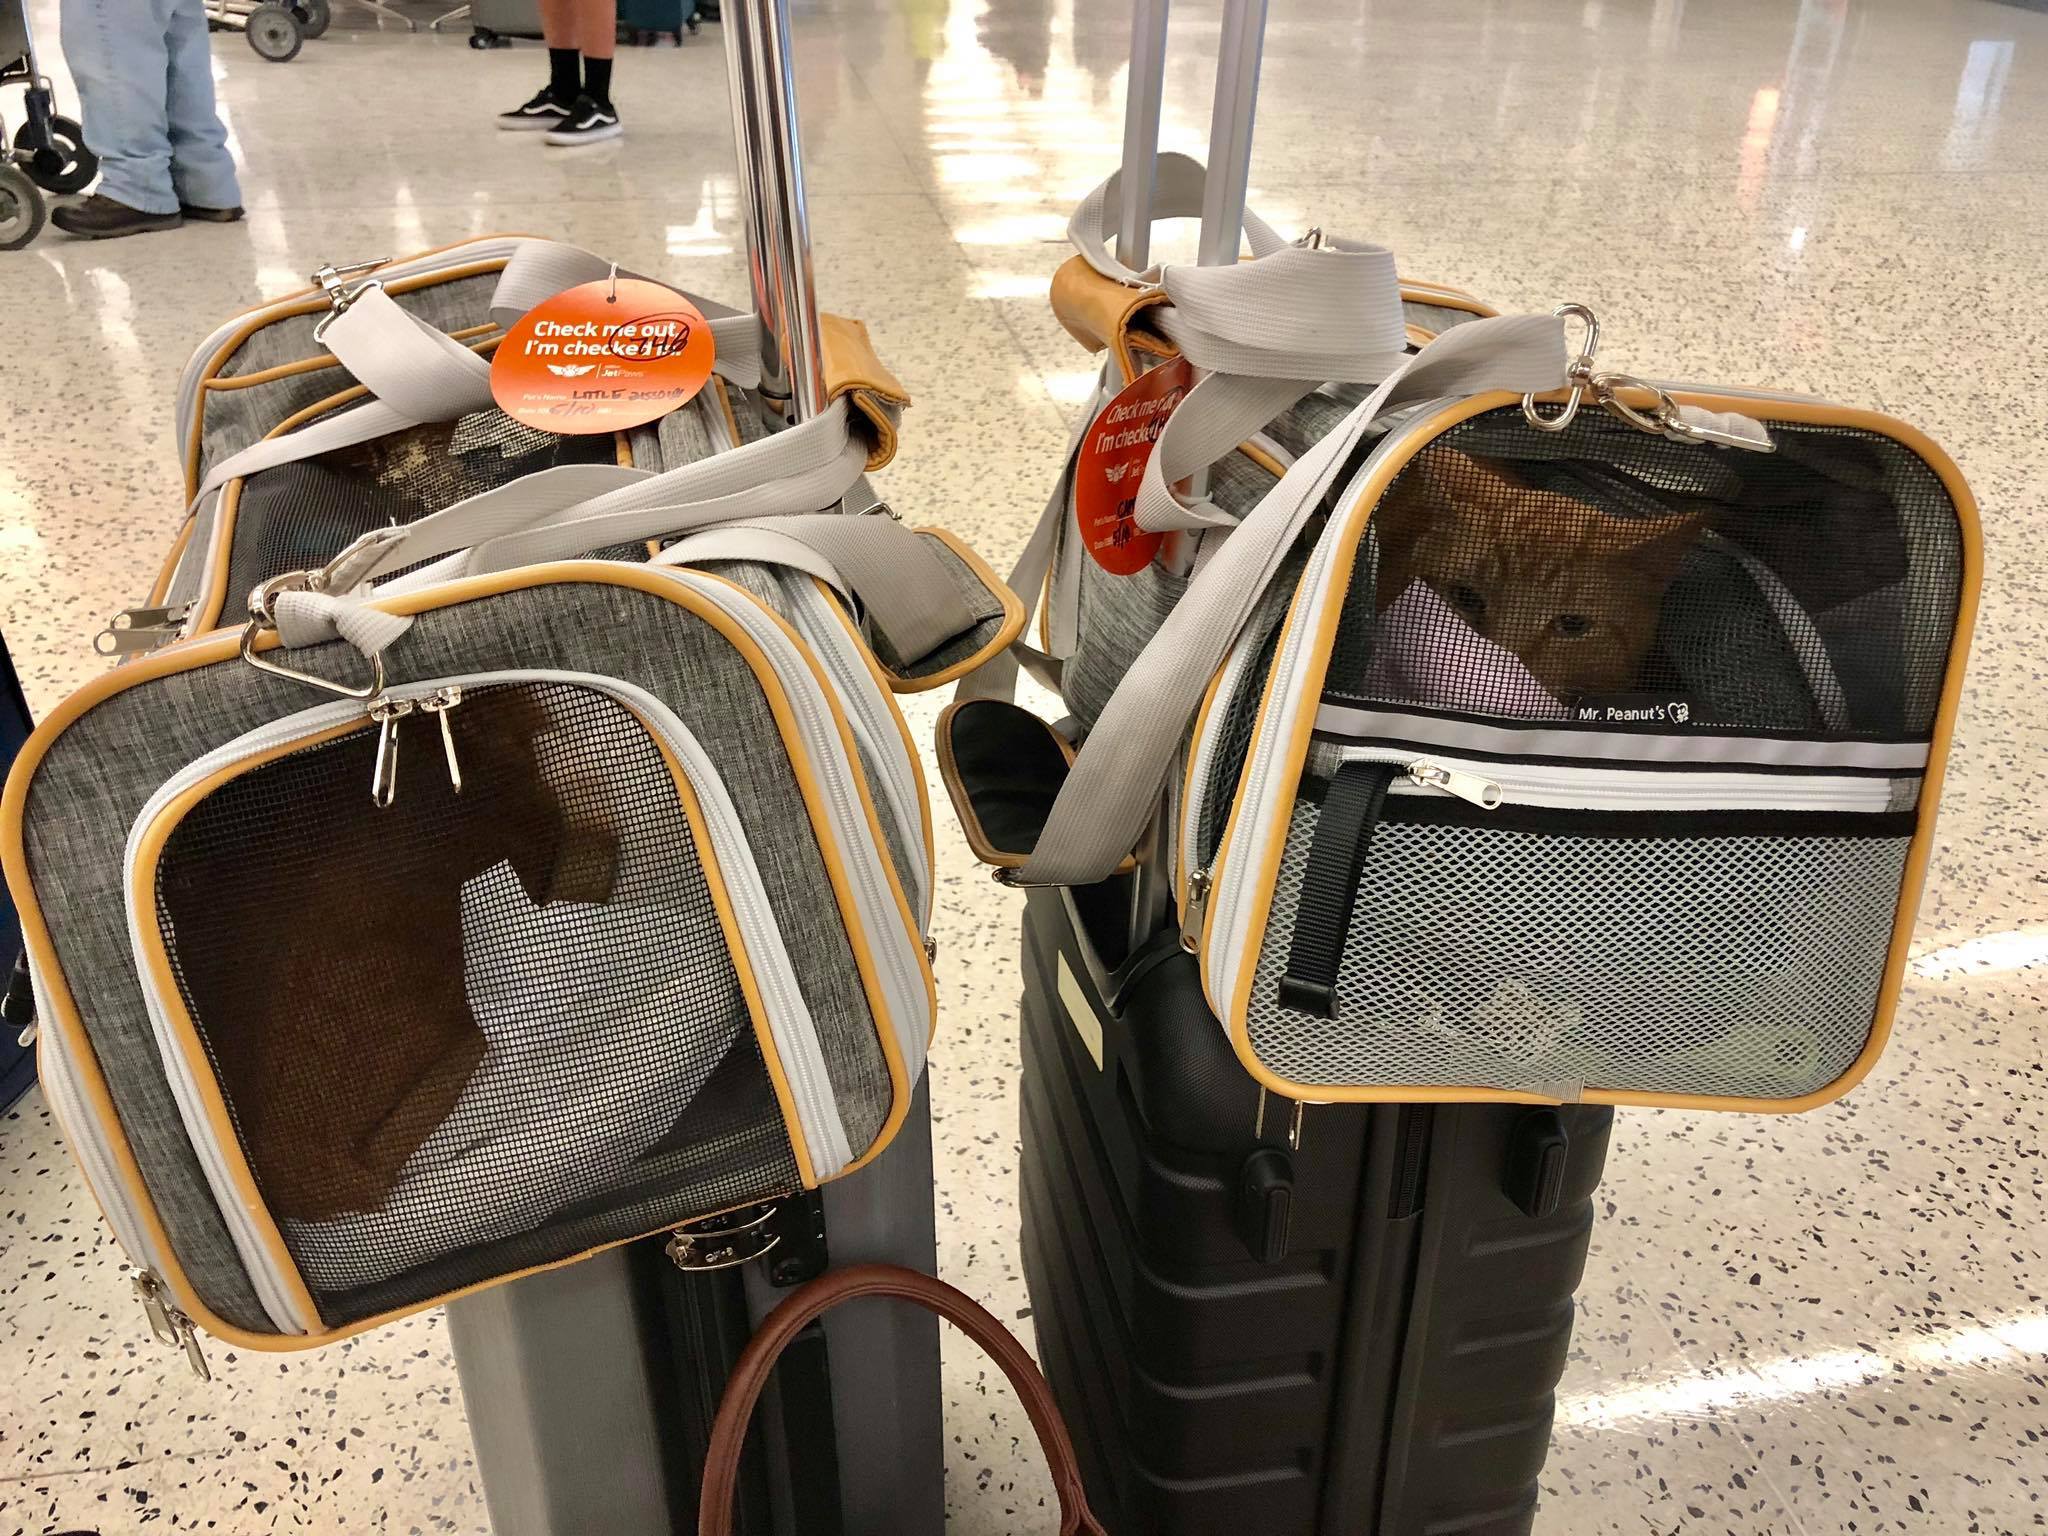
If your pet is flying with you on cargo, make sure he is comfortable since it’s going to be a long flight. Buy food or blankets or bring his favorite stuffed animal. You can also practice putting him on cargo while you are driving around or put him in a dark place so that he/she won’t get shocked when up in the air.
If your carrier is too small, you might want to buy a new one. Don’t forget to put “Live Animal” sticker on your cage and your pet’s name and picture, flight details and your details in case your pet will get lost. Some even put a card for the crew to read. Like “Hello! I am Captain Ahab; it’s my first time flying, so I’m a bit nervous. Please take care of me.” It’s cute and effective.
Doctor’s Appointment
Have an appointment with your veterinarian to check whether your pet is good to go. Talk about safe options to keep your pet calm during the flight. Sometimes a pet that looks sick won’t be allowed in the US, so you need to make sure they are on top shape. Check the vaccinations as well as bring your certificates and his record.
Airline Notification
Notify the airline at least 48 hours before you are traveling with your pet so that they could accommodate you both. Notify as many as possible so that you’ll both be safe and comfortable.
The day of the Flight

Photo by Fernando Lavin on Unsplash
Feed your pet a light meal a few hours before the flight, not too much because his/her stomach might not feel well. Take him for a walk and some exercise too. You can freeze food or water to have a minimum mess in your pet’s carrier. Give him a big kiss and hug because he’ll be alone for half a day.
Arrival
Claim your pets! Let the authorities check him, if your pet is not in apparent good health, further examination by a licensed veterinarian may be required at your expense.
If it’s already okay, Congratulations. Your pet has successfully traveled from the Philippines to the USA. It is indeed an amazing moment to be living in a country with your little babies, I terribly miss them when I’m traveling solo. Not seeing them for more than half a year would break my heart. So it is really a great feeling to have your pets live with you! I wish you both the best!
Do I Need A Visa To Travel To Europe? European Visa Guide
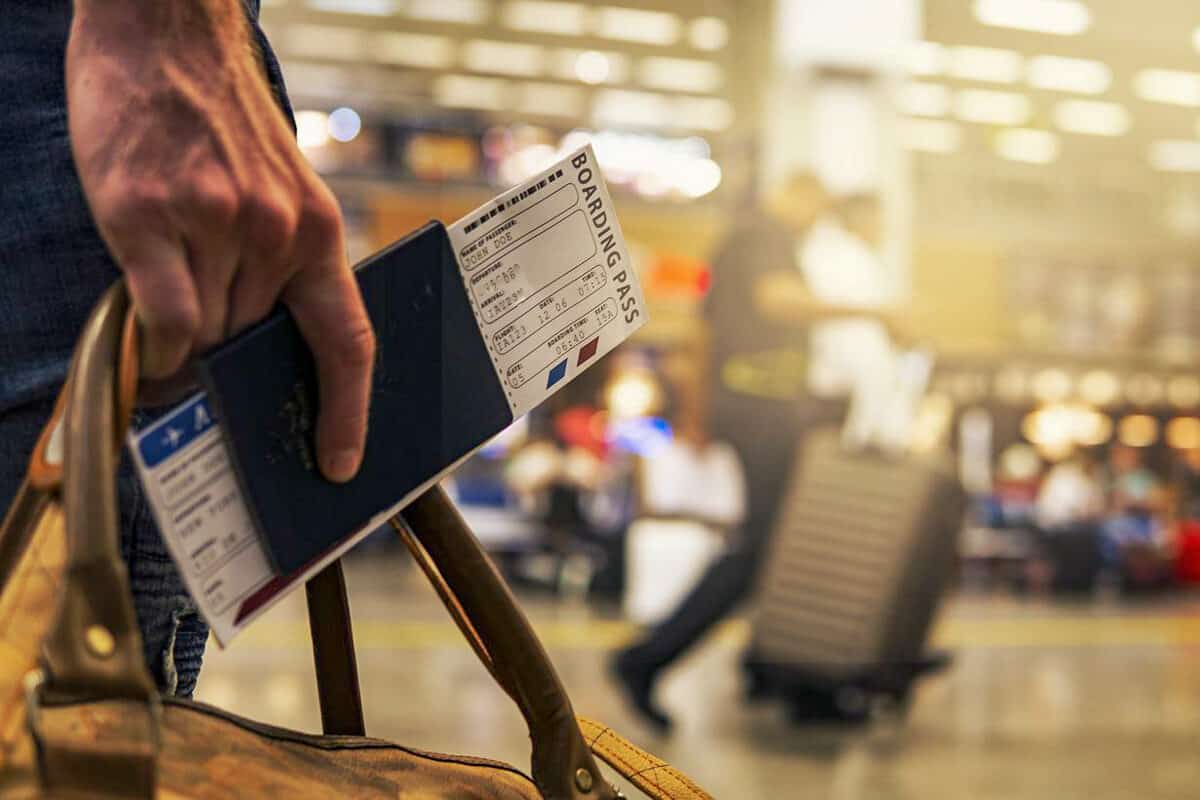
As you plan for your next trip to Europe, visas may not be the first thing on your mind. However, it is critically important to arrange your European visa ahead of time, to ensure that your trip can go off without a hitch.
Depending on where you’re from, you may be exempt from needing a visa to travel to Europe, but for most travelers, a Schengen visa will be more than sufficient for a backpacking trip.
Although visas for Europe can be tricky to understand at first, by the end of this guide, you will know exactly what you need to do to apply for one.
Related: (opens in new tab)
Disclaimer: The following information reflects Europe Backpacker’s understanding of the Schengen visa rules. While this article has been extensively researched and is updated regularly to ensure the information is as current as it can be, we cannot be held responsible for any errors or omissions.
European Visa Guide for Travelers
Who Needs a Visa To Enter Europe?
In a nutshell, mutual agreements between countries in Europe (and the EU) determine whether or not you need a visa to travel within Europe. As a rule of thumb, most non-EU citizens will require a Schengen visa, but nationals from around 60 countries are exempt. Whether or not you need a visa to enter Europe depends on your country of origin (or which country’s passport you are using to travel.)
You can see a full list here, but many countries in Asia, North America, and South America are exempt from the Schengen visa and can travel through the Schengen bloc visa-free. This includes the U.S., Canada, the UK, Japan, and Australia, among other places.
On the other hand, you may need an airport transit visa to change airplanes within Europe, even if you aren’t leaving the airport. This will depend on your nationality. It’s always a good idea to check the specific requirements for your country of origin.

What Is a Schengen Visa?
The Schengen visa is a ‘short-stay’ visa, which allows the holder to travel within the Schengen Area and other participating countries for a period of 90 days. A big perk of the Schengen area is that you do not have to go through border control procedures between member countries. This means that Schengen nationals can work and live in other member-states, and visitors like you are allowed free movement within your visa’s time frame. Of course, make sure you always have your passport with you – especially when traveling by air, as agents will likely still ask for identification.
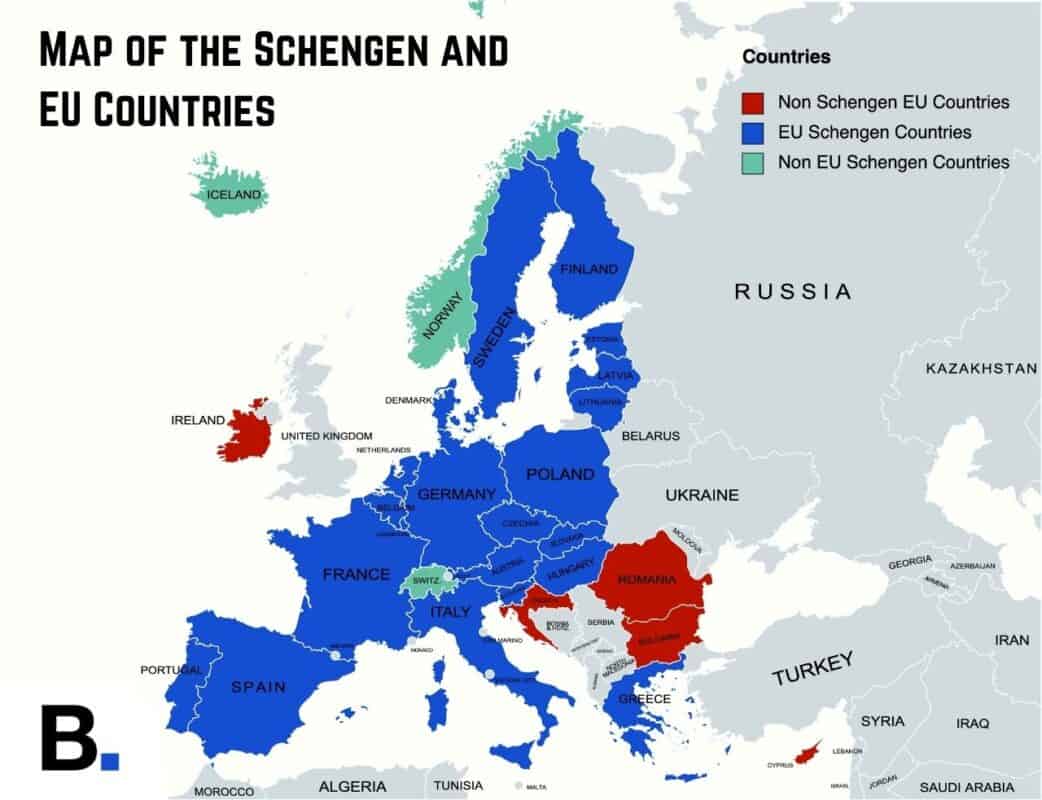
The Schengen Area comprises 26 countries in Europe: Austria, Belgium, the Czech Republic, Denmark, Estonia, Finland, France, Germany, Greece, Hungary, Iceland, Italy, Latvia, Liechtenstein, Lithuania, Luxembourg, Malta, the Netherlands, Norway, Poland, Portugal, Slovakia, Slovenia, Spain, Sweden, and Switzerland.
Note that while most of these countries are also members of the European Union, a few aren’t, namely Iceland, Liechtenstein, Norway, and Switzerland. Relatedly, a few EU member-states are not part of the Schengen border-free area, including, Bulgaria, Romania, Croatia, Cyprus, and Ireland. Travel procedures may differ slightly in these countries.
Which Countries Use the Schengen Visa?
The Schengen visa gives you unlimited access to travel within member states of the Schengen Area, as well as several other places. There are several countries that are not part of the Schengen Area but still allow you to travel to them if you have a valid Schengen visa. These include Albania, Belarus, Bosnia and Herzegovina, Bulgaria, Croatia, Cyprus, Georgia, Kosovo, Montenegro, North Macedonia, Romania, Serbia, and Turkey.
The territories of Andorra, Monaco, and Vatican City are technically not part of Schengen but are considered ‘de facto’ members because they do not impose border controls. Interestingly, outside of Europe, a valid Schengen visa also allows you to travel to Colombia, Sao Tome and Principe, Antigua, and Mexico.
Note that requirements vary widely from country to country, so be sure to check the specifics prior to traveling.
Which European Countries Don’t Use the Schengen Visa?
While most countries in Europe use the Schengen visa, there are a few exceptions. Ireland, Moldova, Ukraine, and the United Kingdom do not use the Schengen visa. If you’re visiting these countries, make sure to check what you need to do to get a visa, as it varies depending on the country.
It is important to remember that the United Kingdom is no longer part of the European Union, and travel rules have changed. Be sure to pay special attention to the entry requirements if you’re planning to travel to the UK.
How To Apply for a Schengen Visa
If you are traveling from a country that requires a visa and your primary reason for visiting is tourism (such as a backpacking trip), you will apply for the tourism Schengen visa. Note that there are separate visas for visiting family or friends, business, culture and sport, and studying – if one of these categories better fits your situation, make sure you apply for that type of visa.
You should always apply for a Schengen visa directly from an embassy, consulate, or its designated representative in your country. They may utilize a contractor service to process applications, but the information should be clear and available on their website. Official embassy websites can be found on the European Union’s website here, which is a great place to start the process.
To start your application, there are a few rules of thumb depending on your situation:
- If you are visiting one country, apply for the visa there.
- If you are visiting more than two countries, apply for the visa wherever you will be spending the most time.
- If you will be spending an equal amount of time in each country you visit, apply for the visa wherever you first enter the Schengen area.
The earliest that you can apply for a visa is 6 months ahead of your trip, and the latest is 15 days. Due to different processing times, it’s recommended that you apply at least 3 weeks before you start your journey to ensure you get the visa in time, but earlier is always better!
You will also have to book an appointment for an interview. How and where the appointment is booked varies depending on the country. Some countries require that you make the appointment in-person and then attend in-person as well, while some allow you to make appointments online or over the phone.
At your appointment, you will need to bring two copies of your completed Schengen visa form; your passport; two passport photos; and other items like proof of travel insurance (we recommend SafetyWing), round-trip flight reservation, and accommodation. The visa form is streamlined for all Schengen member-states.
Biometric data (fingerprints) will also be collected, and a photo is taken of you for their system. This data is kept for five years, so if you apply for a second visa in that time frame, you won’t have to give your fingerprints again.
Travel Documents Required for Non-EU Citizens
At a minimum, you will need your passport to travel to Europe. Per EU regulations, it must be valid for at least three months after you leave and must have been issued within the past 10 years. Again, many countries also ask for other documentation in order to grant your visa, which can include proof of lodging, proof of return ticket, or an invitation letter if you are visiting Europe for a particular reason.
You may also be asked to provide proof of travel insurance and proof of health insurance too. While the application form is streamlined, individual countries can request different supplementary documents. Make sure to check the requirements for the country you’re visiting ahead of this step. It’s never a bad idea to supply more information than is strictly asked for if you have it!
How Much Does a Schengen Visa Cost?
A Schengen visa costs €80. This is a flat administrative fee set by the Schengen member countries and does not vary. Once your application is approved, you will receive a sticker to place in your passport. The sticker has your photo, as well as validity dates, the countries you can enter, and a unique visa number.
If you are able to enter the whole Schengen area, it will just say “Schengen States” or “Etats Schengen.” If you are restricted to certain countries, the respective country codes will be listed. This will be a 1 or 2 letter acronym: e.g. Portugal is P, Netherlands is NL.
Remember to apply for your visa only through the embassy or consulate in your country. If they use a contractor or similar service to process applications, they’ll point you in the right direction. Scams are uncommon but do exist. You should be easily able to avoid them if you only communicate with the correct embassy or consulate directly.
It has been announced that in 2023, the European Travel Information and Authorisation System (ETIAS) will be launched. Any traveller who is visiting the EU or Schengen Area visa-free will need to complete an online form that comes with a €7 ($7USD) admin fee per person. This includes travellers from the US, UK, Japan, Singapore and others.

Entry Requirements for Non-EU Citizens
In addition to the travel documents mentioned above, you may be asked to provide means of subsistence. This is proof of income or proof of your ability to sustain yourself financially during your trip.
Authorities may ask you for bank statements or similar to ensure that you can support your activities while in the Schengen area. The amount varies depending on where you are visiting but is often around €50 per day plus the cost of a hotel room. Countries with a higher cost of living will require proof of more funds.
Schengen Visa FAQs
- Do I need a visa to travel to Europe? Whether or not you need a visa depends on where you come from and what countries you’re visiting. Most non-EU citizens will need a visa to visit Europe. Nationals of countries on the exempt list do not need a visa to enter.
- What is a Schengen visa? The Schengen visa is a ‘short-stay’ visa, which allows you to travel within the Schengen Area and other participating countries for a period of 90 days.
- Do UK citizens need a visa for Europe? No, the UK is on the list of visa-exempt countries.
- Do American citizens need a visa for Europe? No, the US is on the list of visa-exempt countries.
- What are common reasons Schengen visa applications get declined? Most declined applications are declined due to an error on the application or suspicion of false data provided (e.g. fake passport.) If you made a mistake on your application, you can appeal the decision with the correct data. Your application may also be declined if you do not satisfy the application criteria, such as proof of means of subsistence.
- Are you required to submit biometric data for a Schengen visa? Yes. In addition to other identification documents, biometric data (fingerprints) will be recorded at your application appointment.
- How long in advance can I apply for a Schengen visa? You can apply up to six months in advance of your trip.
- How much does a Schengen visa cost? There is a flat administrative fee of €80.
When you plan your trip to Europe, don’t forget to check if you need a visa. If you are not an EU citizen, there is a good chance that you will need a European visa, unless you are from a visa-exempt country. Most non-EU citizens will be best served by a Schengen visa. This visa includes the 26 Schengen bloc countries as well as several other places in Europe and offers you free movement between them for 90 days.
It’s not as hard to secure a Schengen visa as you might think – simply follow these steps:
- Check if you need a visa
- If you do, contact the consulate or embassy nearest to you for the country you are seeking to get a visa for and make an appointment
- Fill out the application form correctly prior to your appointment, and print out two copies. Bring the form, your passport, passport photos, and any required supplementary information (proof of lodging, etc.) with you
- When you receive your visa, stick it in your passport
- Enjoy your trip!
What has your experience been like getting a Schengen visa? Any tips we missed? Let us know in the comments!
Easiest to Hardest Visa Applications According to Filipino Travellers

0
Seoul, New York, Paris, and Tokyo — besides being universally loved by Filipinos, all these cities have another thing in common. They all require us to apply for visas beforehand!
To those of us who have made it our life goal to visit every country in the world, applying for a visa will be a part of the experience about 70% of the time. Philippine passport holders can only travel to at least 60 territories without this crucial document, which leaves us with over thrice as many more to worry about. These include the six frequently travelled or talked about destinations by Filipinos — South Korea, Japan, Australia, Canada, United States of America, and the European continent.
Joining the bandwagon, it’s important for you to know which visa applications you should prioritise and which applications you need to put a little more effort in. We’ve gotten in touch with a few Filipino travellers who shared their insights and here’s what we found out to be the easiest to hardest visa applications for them.
Easy visa applications for Filipinos
Japan
Naturally, any visa application’s success or failure is a case-to-case ordeal. However, it can be agreed by many that the Japan Visa remains to be the easiest of the six to acquire. Some travellers are lucky to have been given a five-year multiple entry visa on their first and second tries, according to a personal account by Mar Malabanan, a hotelier and wanderer.
The requirements are fairly basic and you’ll only need to send them to an accredited travel agency, eliminating the need for personal interviews in the process. Visa fees can even go as low as ₱800. In some agencies, the same amount is collected regardless if you’re applying for a single-entry or multiple-entry visa. A few stories of denial commonly have to do with missing requirements or not having enough show money, which is easily understandable considering how expensive it is to travel around Japan.

Common reasons for denial: Missing documents and insufficient funds.
How to increase chances of approval: Grow your savings and complete the requirements. If you lack any of them, prepare a letter of explanation.
South Korea
According to The Wknd Travel founder Paolo Rellama, getting a South Korean Visa was a much simpler feat years ago when there were fewer requirements. On top of the processing fee imposed by your chosen travel agency, you’ll only have to pay for your bank documents and your photos.
The embassy also has occasional partnerships with BDO, BPI, and RCBC wherein cardholders of those banks are exempted from submitting an ITR, bank certificate, and bank statement. Generally, these people will have better chances of getting approved as well.

Common reasons for denial: Failure to prove economic ties with the country, insufficient funds, and erroneous information supplied on the application form.
How to increase chances of approval: Previous travels to OECD-member countries and having bank savings higher than your expected travel expenses.
Moderate visa applications for Filipinos
Australia
According to Sasha Schorn, a Philippine passport holder currently studying in Australia, the fact that applying for an Australian Visa is entirely done online makes it one of the easiest visa applications for Filipinos.
Similar to Japan and South Korea, applicants who usually lack any one of the required documents can simply submit a cover letter or a letter of explanation. You can be given a one-year multiple entry visa with a maximum of 90 days of stay for each visit. Despite these, however, the application fee for Australian Visa costs a non-refundable amount of AU$145 (around ₱4,500).

Common reasons for denial: Missing documents, failure to prove return to your country, insufficient funds, low current salary. and erroneous information supplied.
How to increase chances of approval: Having proof of capacity to travel (bank certificate, bank statement, credit card statements), proof of travel history (copies of visas or stamps), and as many supporting documents as possible (flight tickets, hotel booking, cover letter).
Schengen
A Schengen Visa is undeniably one of the most complicated to obtain. Not only is there no single list of requirements that you have to follow, but the visa fee is also quite steep as claimed by Jesslyn Lee, a female traveller who’s been to roughly 30 countries. What’s more, with the complexity of application requirements, Kach Medina of Two Monkeys Travel Group shared that there’s still a higher rejection rate.
The requirements also depend on which country you’ll be spending the most time in or which country you’ll be flying into first (if you’re going on a multi-country tour). There are also embassies that are a little trickier to please than others. It is said that applying in embassies of Eastern European countries such as Czech Republic and Poland is usually easier than applying in its Western Europe counterparts. Travel and lifestyle blogger Ruth dela Cruz admitted preferring visa applications with interviews because there’s an opportunity to defend one’s travel intent. This is in comparison to an application in which the decision is solely based on documents.

Common reasons for denial: Insufficient funds, weak travel history, and failure to prove travel intent and show proof of work, business, or assets.
How to increase chances of approval: Travelling to European countries within the past six months, entering the continent via underrated territories, and completing all mandatory and supporting documents (cover letter stating your intent and itinerary).
Hard visa applications for Filipinos
The United States of America is also a common destination for Filipinos, whether for travel, academics, or emigration. With Guam and Hawaii just a few hours of flight from Manila, Filipinos who wish to enter mainland US can easily transit through these territories, too.
In a US Visa application, the common deal-breaker is the interview. Those with more confidence (or at least know how to fake it) will have a definite leg up. No matter how clear your intentions are, how much time you’ve spent in preparing your pre-interview requirements, and how you earned that crazy, non-refundable US$160 visa fee, it all comes down to how effectively you communicate with the consul. Knowing whether you will be approved or denied right after the interview makes the process that much more nerve-wracking.

Common reasons for denial: Freaking out during your interview and inability to establish financial capacity and family ties on your application form.
How to increase chances of approval: Being confident, thinking about the questions first before answering, and having a stable source of income.
Canada
Unlike the US visa application, getting a Canadian Visa does not require you to meet with a consul. Everything happens online. That may appear simple at first, but the catch is you’ll have to prepare a large amount of paperwork to prove your travel intentions and willingness to return to your home country.
These can be seen in your travel history (passport stamps and previous visas) and your financial capacity (bank statements and proof of assets). Although not as expensive as the US Visa, the C$100 Canadian Visa fee will no longer be refunded, regardless of your application being approved or denied.

Common reasons for denial: Inadequate travel history, inability to prove family ties, and having insufficient funds.
How to increase chances of approval: Growing your savings, travelling to other visa-required countries first, and having extra documents to prove you are returning to the Philippines.
Remember that outcomes depend mostly on individual cases. Nonetheless, completing the requirements, having enough financial capacity, and showing a strong travel history are still three of the biggest factors in these visa applications for Filipinos. If an interview is required, be sure to look as presentable as possible, and make an effort to be more eloquent and confident. Happy applying!
Joser Ferreras
Joser is a senior writer for TripZilla based in Manila, Philippines. He mostly covers travel, people, and business.
Source https://twomonkeystravelgroup.com/flying-with-pets-from-the-philippines-to-usa/
Source https://europebackpacker.com/europe-visa/
Source https://www.tripzilla.ph/easiest-hardest-visa-applications-filipino-travellers/6882