
Maximize Profits and Minimize Risks: FerlinaVox Automated Portfolio
July 11, 2025Automated Crypto Portfolios: The New Era of Smart Investment The world of digital assets is full of stories about rapid… Continue Reading
Travel Blog
Automated Crypto Portfolios: The New Era of Smart Investment The world of digital assets is full of stories about rapid… Continue Reading

Electroepilation Permanent Hair Removal: Can It Work for Every Hair Color and Body Area? One of the most common questions… Continue Reading
Discovering the Future of Crypto Investing: NexaveroPro Insights The digital finance landscape is transforming rapidly, bringing new ways to approach… Continue Reading

Decoding the Art of Musical Progressions Every melody that lingers in your memory often owes its magic to the sequence… Continue Reading

Epic College Tour! Mountains, temples, history – Manali, Amritsar & Delhi are calling! Explore, learn, and make memories that last a lifetime. Your adventure starts here!
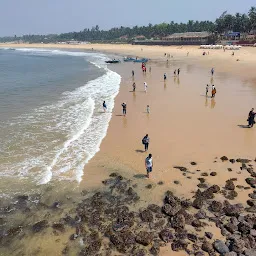
Dreaming of Goa beaches? Discover hidden gems & popular hotspots! Your ultimate guide to sun, sand, and unforgettable Goan vibes awaits!

Craving adventure? Join Digisha Bose as she unveils hidden gems and cultural wonders! Get inspired to travel and explore the world through her lens. Travel is waiting!

Dreaming of Athirapally Falls? Discover the perfect stay near Kerala’s majestic ‘Niagara of India’. Wake up to breathtaking views and unforgettable adventures!

Visit Ladakh’s Magnetic Hill! Cars roll uphill in neutral? Is it magic or just an optical illusion? Discover the mystery for yourself! A must-see spot!

Join our unforgettable mountain bike expedition! Seven souls, five bikes, and endless trails. Experience breathtaking views and conquer the high country with us. Adventure awaits!