Taking the Leap: Age Requirements for Skydiving
So You Want to Skydive? Age Requirements Explained Skydiving is an exhilarating experience, offering a unique perspective of the world and a rush of adrenaline. But before you take the…
 Taking the Leap: Age Requirements for Skydiving
 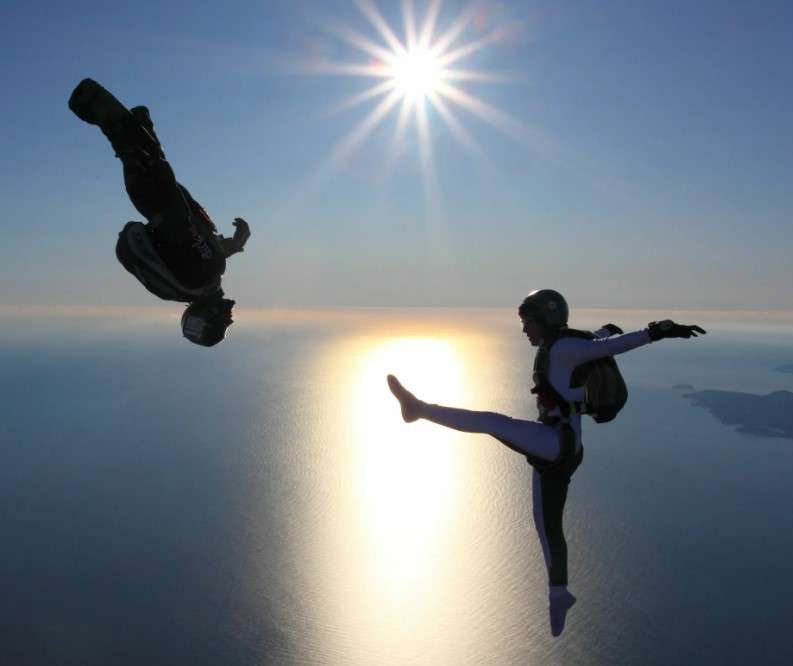 So You Want to Skydive: Understanding Weight Limits
  Taking the Leap: A Sensory Journey Through Skydiving
 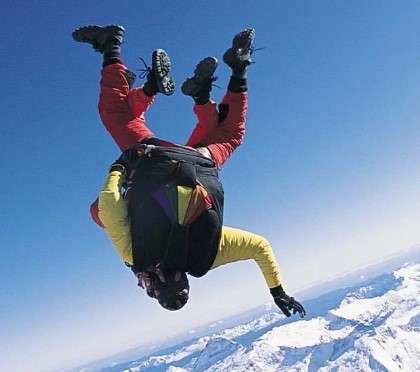 Reaching for the Clouds: How Fast Do You Fall Skydiving?
  Taking the Plunge: An Introduction to Tandem Skydiving
  Gearing Up for the Leap: What to Wear Skydiving
 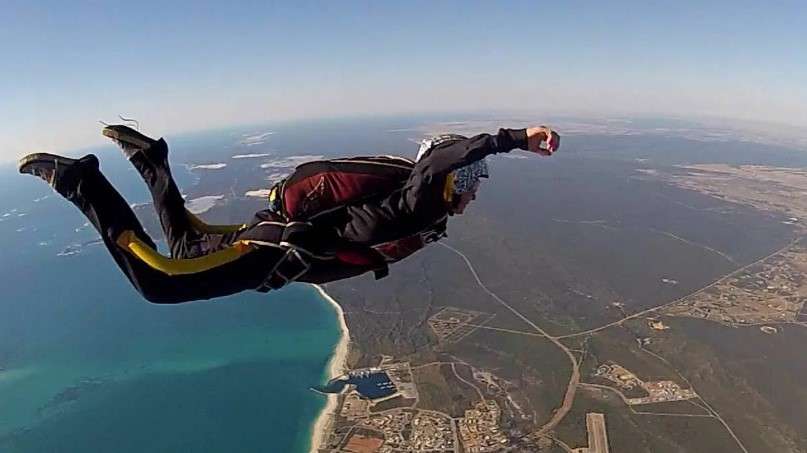 Maui Skydiving: An Unforgettable Adventure Awaits
  The Thrill of Freefall: A Guide to Skydiving Duration
  Soaring Through the Skies: Age Requirements for Skydiving
  Did james baldwin travel to africa
So You Want to Skydive? Age Requirements Explained Skydiving is an exhilarating experience, offering a unique perspective of the world and a rush of adrenaline. But before you take the…
Skydiving is an exhilarating experience, offering a unique perspective of the world while plummeting through the air. If you've ever considered taking the plunge, you might be wondering if there…
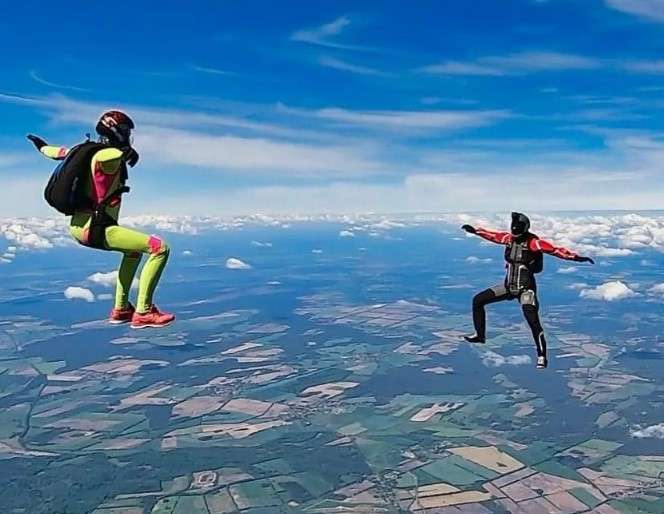
So You Want to Know What Skydiving Feels Like? Strap yourself in, because skydiving is an experience unlike any other. It's a rollercoaster ride of emotions and a full-body sensory…
The Thrill of Speed: Unveiling the Fall Rate During a Skydive Skydiving is an exhilarating activity that combines the rush of adrenaline with breathtaking views. But have you ever wondered…
Have you ever dreamt of soaring through the sky like a bird? Tandem skydiving offers a thrilling way to experience the exhilaration of freefall without the need for extensive training.…
Skydiving is an exhilarating experience that pushes the boundaries of human sensation. While the focus is undoubtedly on the breathtaking freefall and parachute descent, ensuring you're properly clothed is crucial…
For the thrill-seeker, Maui offers an unparalleled experience: skydiving. Imagine soaring above the island's breathtaking landscapes, feeling the rush of wind against your face as you freefall towards the earth,…
Skydiving is an exhilarating activity that allows you to experience the sensation of flight and breathtaking views from high altitudes. But how long does the actual skydiving experience last? This…
Have you ever dreamt of experiencing the thrill of freefall and soaring through the skies like a bird? Skydiving is an exhilarating activity that allows individuals to push their limits…
## James Baldwin's Transformative Journey to Africa James Baldwin, the renowned African American author and social activist, embarked on a transformative journey to Africa in the 1950s. This experience profoundly…